Plateau flexible imprimante 3D LCD
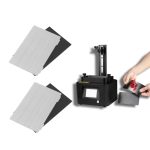
Plateau flexible imprimante 3D LCD Resin Flexible Plates 2 Sets for Anycubic Photon/ S / SE / Mono, Elegoo Mars/ Pro/Saturn

FLEXIBLE STAINLESS SPRING STEEL BUILD PLATES FOR RESIN 3D PRINTERS
You know what’s frustrating about resin printing? The clean-up.
Removing prints without damaging either the print or the build plate is tricky. It’s all too easy to send your freshly-printed tabletop mini hurtling across the room with a misplaced jab of the spatula, only to have it crash to the floor, resting broken and sad in a puddle of slowly-curing resin.
Thankfully, there’s a solution; flexible build plates. Just peel them off the printer with the handy tabs, give them a wiggle, and pop! Your prints come straight off. Plus, if you have more than one flexible plate, you can start your next print while cleaning up your last. You’ll have that whole army of minis up in no time!
Getting started is easy; you attach a super-strong (alternating-polarity) magnetic base to the build plate of your favourite resin printer using the high-strength 3M adhesive supplied. It’s a special kind of adhesive that won’t react with resins and solvents but sticks super well to the metal of your build plate. Once the magnet is on and the adhesive is set, the stainless, spring-steel plate snaps right to it.
Re-level your printer to account for the added thickness, and you’re good to go! The stainless-steel has a high chromium content (that’s the magic ingredient of stainless-steel), which keeps it safe from the corrosive compounds in the resins; while the brushed texture of the stainless-steel ensures your print can get a good grip to it, to help prevent warping and failed prints.
- Your package will contain
- ● Flexible stainless, spring-steel plate/s
● Magnetic rubber sheet/s (with 3M-9448A Adhesive attached) - Check the table below to ensure you’re getting the right size for your printer
| Brand | Model | Flexible Plate Size |
| Anycubic | PhotonPhoton SPhoton Mono / Mono SE | 135x80mm |
| Photon XPhoton Mono X | 202x128mm | |
| Elegoo | MarsMars Pro | 135x75mm |
| Mars 2 Pro | 140x84mm | |
| Saturn | 192x120mm | |
| Creality | LD-002H | 140x84mm |
| Monoprice | Mini Deluxe SLA | 135x75mm |
| Phrozen | Sonic Mini 4k | 135x75mm |
| Qidi | Shadow 5.5S | 135x80mm |
| Sainsmart | KL-9 | 202x128mm |
| Wanhao | D7 | 135x75mm |
| Nova3D | Bene 4 | 140 x 84mm |
- Materials Download1.Click here to download the manual
2.Click to download the STL file of a spacer to re-level your bed. - Full Installation Instruction
Here is a video of the full installation process, which is also written below.
Ensure your build plate is thoroughly cleaned.
Remove any liquid resin using an appropriate solvent (e.g isopropyl alcohol). Ensure there is no oil, water, detergent, dust or any other foreign matter on your build plate and that it is fully dry. It’s worth running it under a UV light (or the sun) to be extra sure that there is no liquid resin remaining. Any foreign matter will negatively affect the adhesive.
Check it’s the right temperature and humidity.
Before you start, make sure the temperature of your environment is between 21°C-38°C (67°F-100°F) and the humidity is between 40%-60%. If the temperature is too low you can heat the build plate up a bit for this process. This temperature range only applies for the install process. Once the magnet is attached, and the adhesive set, it will work fine outside these temperatures. 
Install the magnetic sheet.
Before removing the tape protecting the adhesive, line up the magnetic sheet with the build plate to check the positioning. Peel away about 1-2cm of one end of the protective tape and begin attaching the magnetic sheet to the build plate. Press it down from the middle to the corners, being careful to ensure you don’t capture any bubbles. Slowly peel back a bit more of the tape and repeat this action, until you have completed the whole sheet. Burnish the surface by placing the protective tape on the magnetic surface and massaging it very firmly with your finger-tips (through the tape), covering every spot of the magnetic surface. 
Allow the adhesive to set
The adhesive will be fully set in 72 hours, but if you’re in a hurry it will set to about 90% efficacy in 24 hours. 
Place the stainless-steel plate onto the build plate.
With the smooth side toward the magnet, which will hold it in place. Ensure the tabs won’t hit the tank in the placement you choose. 
Re-level your build-plate
To account for the increased thickness of the build plate, you will need to re-level your build-plate according to the normal procedure for your machine. Be sure to loosen all the screws before homing the printer slowly in increments, as you have added bulk to the build-plate during this installation, and you don’t want to accidentally crack your screen.
Note: some machines don’t have much play in their homing function, and in such cases you may need to move your Z end stop slightly (that’s the little switch that tells your printer where ‘home’ is) to account for the thickness of the flexible plate (roughly 2.7mm). Some machines may need a spacer to achieve this placement. A printable STL of which can be found here. Basically, this tricks the printer into thinking home is a little bit higher than it used to be. This will also reduce your maximum print height by 2.7mm.
Print!
Slice your print as normal and print it out. If your prints aren’t sticking to the stainless-steel plate, ensure you are printing on the brushed side, with the smooth side facing the magnet. The brushed steel side adheres better to the resin. If you are still having trouble, increase your initial layer time in your slicer software.
Pop your prints off
When your print is complete, remove the stainless-steel plate from the machine using the little tabs, and flex it lightly to pop your prints off. You shouldn’t need to bend the plate drastically to remove prints, and doing so could irreversibly damage the plate. If you find your prints are hard to remove, consider lowering your initial layer time. 
Clean the plate and magnet and reattach it
Ensure there isn’t any residue caught between the stainless-steel plate and the magnet and that the plate is dry before re-assembling. If you have two stainless-steel plates you can quickly clean the magnet then snap on the clean stainless-steel plate while you finish cleaning the freshly-printed one, to speed up your production line.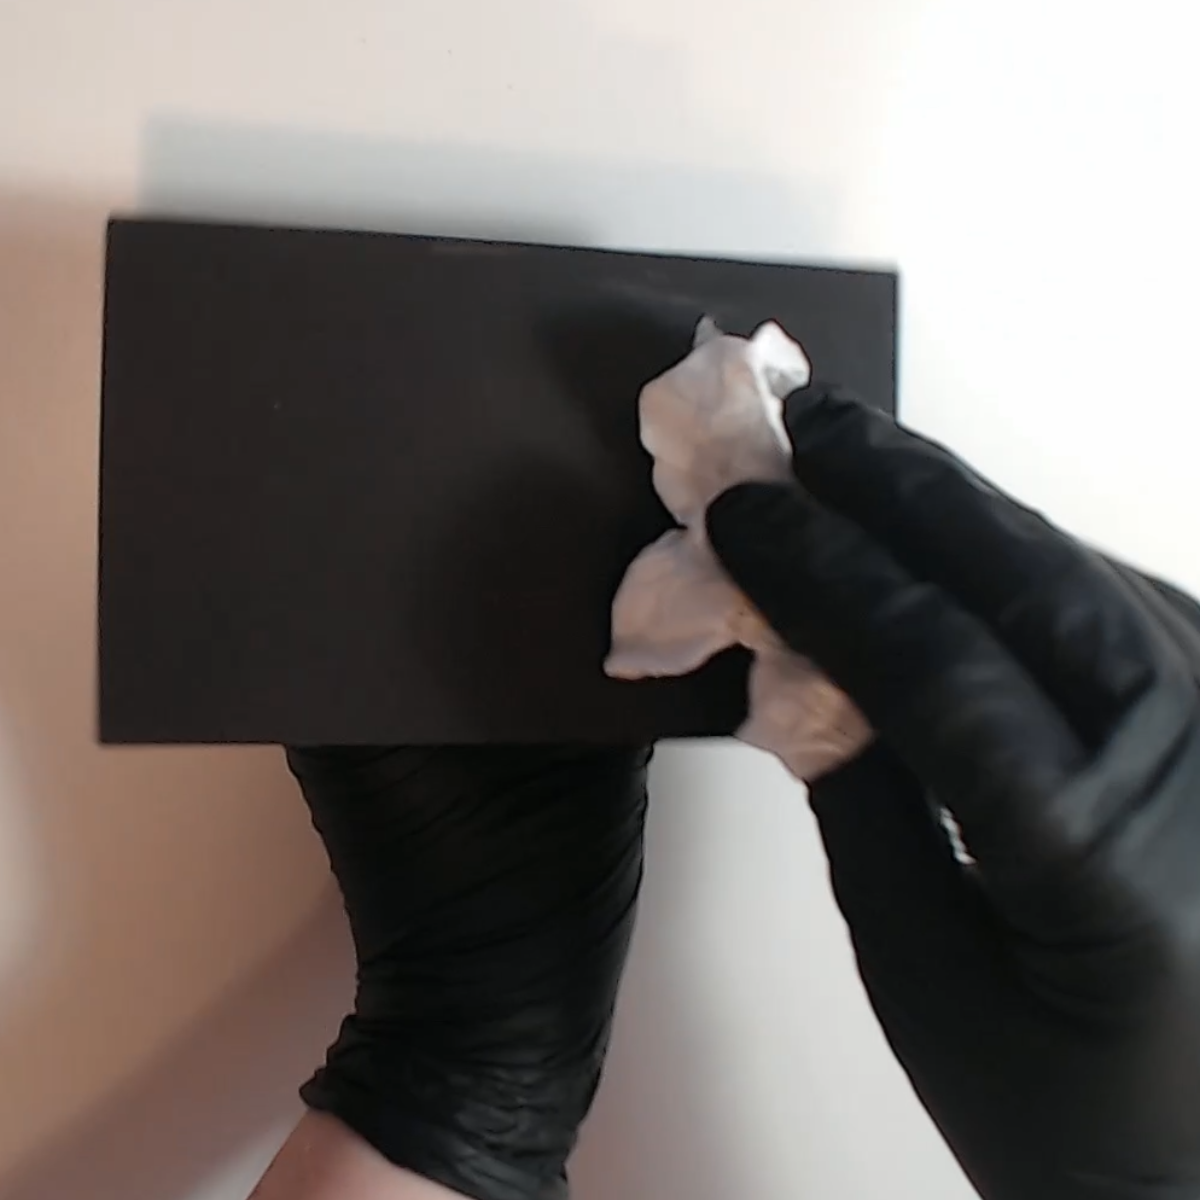

bonjour auriez vous ce plateau pour creality halot one pro : 138×126 mm
Bonjour. Le seul que je connaisse pour cette machine est le Wham Bam : https://whambam3d.com/products/138-x-126-creality-halot-one-pro